The first sound of the grinder in the morning—that low hum breaking the silence—sets the tone. The aroma of freshly ground beans rises, and suddenly the day feels full of possibility. A dedicated coffee bar at home doesn’t need much. Just a small corner, a few tools, and a method that turns a daily chore into a quiet ritual.
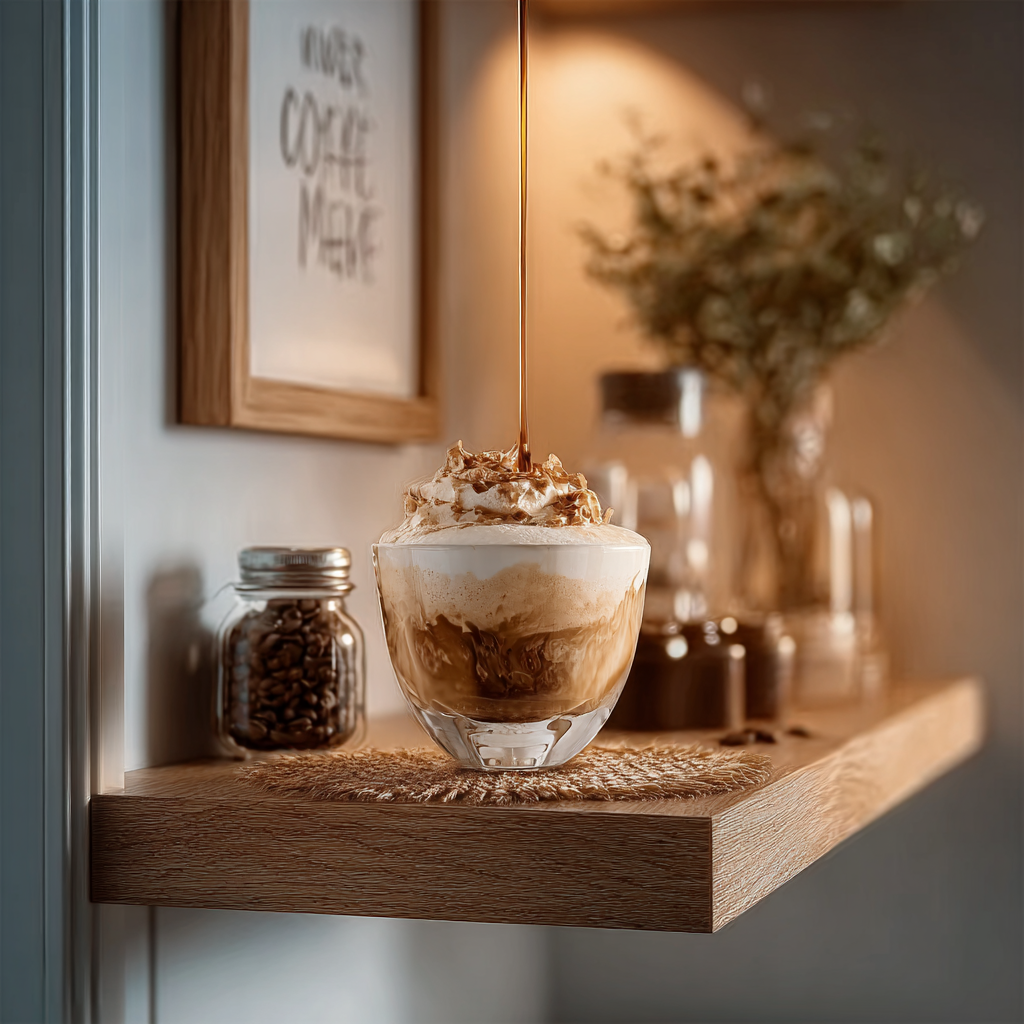
Why a Simple Coffee Bar Changes Your Morning
When your coffee setup is organized and within arm’s reach, you stop rushing. You start paying attention. The scale, the kettle, the dripper—each piece has a place. This isn’t about fancy equipment. It’s about removing friction. I keep my beans in a sealed container near the grinder, my filters in a small basket, and my favorite mug on a hook. Mornings become smoother, and the coffee tastes better because you’re not scrambling.
The Ratio That Never Fails
The most important technique I’ve learned is the 1:15 ratio—one part coffee to fifteen parts water. For a single mug, that’s 20 grams of coffee to 300 grams of water. This ratio works with most medium roasts and gives a balanced cup: not too strong, not too weak. If you prefer a bolder flavor, try 1:14 (20 grams to 280 grams). For a lighter, tea-like body, go to 1:16 (20 grams to 320 grams). The key is consistency. Weigh your coffee and water every time. Volume measures like scoops are too unreliable.
Water Temperature Matters
Water that’s too hot scalds the grounds, bringing out bitter notes. Water that’s too cool under-extracts, leaving the coffee sour and flat. I aim for 200°F (93°C). If you don’t have a thermometer, bring water to a full boil and let it sit for 30 seconds. That’s close enough. Pour slowly, in a steady spiral, starting at the center and working outward. This ensures all grounds are evenly saturated.
The Bloom: Where the Magic Starts
After your first pour—about 40 grams of water—let the coffee sit for 30 seconds. This is the bloom. You’ll see bubbles rise and the grounds expand. That’s carbon dioxide escaping, a sign of fresh coffee. If you see few bubbles or none, your beans may be stale. A proper bloom sets the stage for even extraction. Don’t skip it, and don’t rush it. Use a timer if you need to.
Common Mistake: Pouring Too Fast
Many people pour all the water at once, flooding the grounds. This leads to uneven extraction and a muddy taste. Instead, pour in stages. After the bloom, add the remaining water in two or three pours, each time waiting for the water level to drop about halfway before the next pour. The total brew time should land between 2:30 and 3:00 minutes. If it’s faster, grind slightly finer. If slower, grind coarser. Adjust by one or two clicks on your grinder.
Building Your Coffee Bar
You don’t need a full remodel. A small tray on a countertop works. Place your grinder on the left, your kettle on the right, and your dripper and mug in the center. Keep a small bowl for used filters nearby. A digital scale with a timer is worth the investment—it’s the most accurate way to replicate a good cup. If you have space, add a small jar for spoons and a cloth for spills. The goal is a space that feels intentional, not cluttered.
The Sensory Experience
Listen to the water as it hits the grounds. Watch the crema form on a fresh espresso, or the gentle bubbles of a pour over. Smell the difference between a light roast (floral, fruity) and a dark roast (smoky, chocolatey). Each morning offers a new chance to notice these details. That’s what makes the coffee bar feel special—not the gear, but the attention you bring to it.
Note: Caffeine affects people differently. If you are sensitive, consider a half-caff blend or a smaller serving. For health-related questions, consult a qualified professional. Coffee is not suitable for young children.
Takeaway
A home coffee bar that makes every morning feel special is built on three things: a reliable ratio (1:15), proper water temperature (200°F), and a consistent pour. The rest is just practice. Start with what you have, and let the ritual grow naturally. Your mornings will thank you.
Frequently Asked Questions
What is the ideal water temperature for pour over coffee?
The ideal water temperature for pour over coffee is between 195°F and 205°F (90°C to 96°C). I typically use 200°F (93°C) as a starting point for most medium roasts. If you don’t have a thermometer, bring water to a boil and let it sit for 30 seconds before pouring.
How do I know if my grind size is correct for pour over?
Your grind should resemble sea salt—neither powdery nor chunky. A correct grind will allow water to flow through in about 2:30 to 3:00 minutes for a standard 300-gram brew. If the brew finishes too quickly, the grind is too coarse; if it stalls or takes longer, the grind is too fine.
Can I use a regular kettle instead of a gooseneck?
Yes, you can use a regular kettle, but a gooseneck kettle gives you more control over the pour rate and direction. With a regular kettle, pour slowly and steadily from a low height to avoid disturbing the coffee bed too much. The result may be slightly less even extraction, but it still works.

Morning Pour Over Coffee
Ingredients
Equipment
Method
- Heat filtered water to 200°F (93°C) in a gooseneck kettle. 2. Place a paper filter in the dripper and rinse it with hot water to remove paper taste and warm the dripper; discard rinse water. 3. Weigh 20 grams of whole coffee beans and grind to a medium-fine consistency (like sea salt). 4. Place the dripper on your mug and add the ground coffee; tap gently to level the bed. 5. Start a timer and pour 40 grams of water in a slow, circular motion starting from the center outward, ensuring all grounds are saturated; let bloom for 30 seconds. 6. After bloom, pour the remaining 260 grams of water in two or three stages, maintaining a steady spiral pour; aim to finish around 2:30 to 3:00 total brew time. 7. Let the water drain completely; remove the dripper and enjoy.