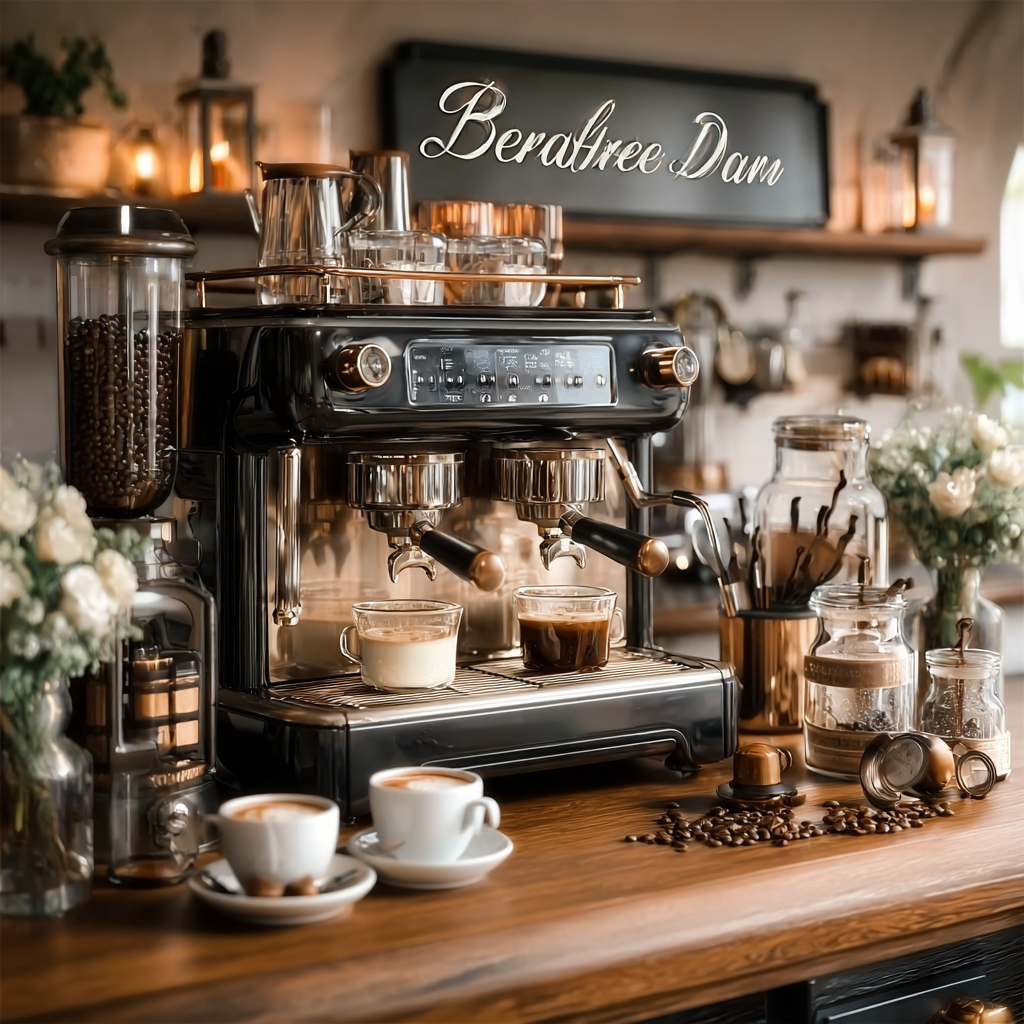
The first time I saw a coffee bar cabinet tucked into a corner of a friend’s home, I understood the appeal instantly. It wasn’t just about the coffee—though that mattered. It was the way the warm light caught the ceramic mugs, the neat row of glass jars holding beans, the gooseneck kettle poised like a sculpture. A coffee bar cabinet transforms a simple morning routine into a ritual.
But building one that looks like it belongs on Pinterest—and actually works for daily brewing—takes more than just buying pretty jars. It’s about balance: between aesthetics and function, between storage and workflow. Here’s how I approach it, step by step, with the details that make a real difference.
Choosing the Right Cabinet
Start with the foundation. A cabinet that’s too shallow won’t fit a standard drip tray or a kettle base. Look for a depth of at least 15 inches—18 is better. Height matters too: you want enough clearance above the countertop for a pour over dripper and a carafe. I prefer cabinets with adjustable shelves so you can customize the spacing for mugs, syrups, and a grinder.
Material is key. Solid wood or a high-quality veneer holds up better against steam and spills than particleboard. If you’re working with an existing cabinet, consider adding a waterproof mat or a small tray under the brewing area to catch drips. Safety note: always ensure your electrical outlet is away from potential water splashes, and use a surge protector for your kettle.
Setting Up the Brewing Station
Think of your cabinet as a workflow triangle: beans, water, and cup. Place your grinder on the left (if you’re right-handed), the kettle and dripper in the center, and your mugs on the right. This minimizes movement and keeps the process smooth.
For the brewing itself, I keep the ratio at 1:16 for most pour overs—15 grams of coffee to 250 grams of water. The water temperature should be between 200 and 205°F (just off a full boil). If you don’t have a variable-temperature kettle, let the water sit for 30 seconds after boiling. A common mistake is using water that’s too hot, which over-extracts and makes the coffee bitter. Watch for the bloom: when you pour the first 30 grams of water, the grounds should bubble and release carbon dioxide. If there’s no bloom, your beans might be stale.
Grind size matters. For a pour over, aim for a consistency like sea salt—not too fine (that clogs the filter) and not too coarse (that under-extracts). I test by pinching a bit of grounds between my fingers: they should feel gritty, not powdery.
Organizing for Beauty and Efficiency
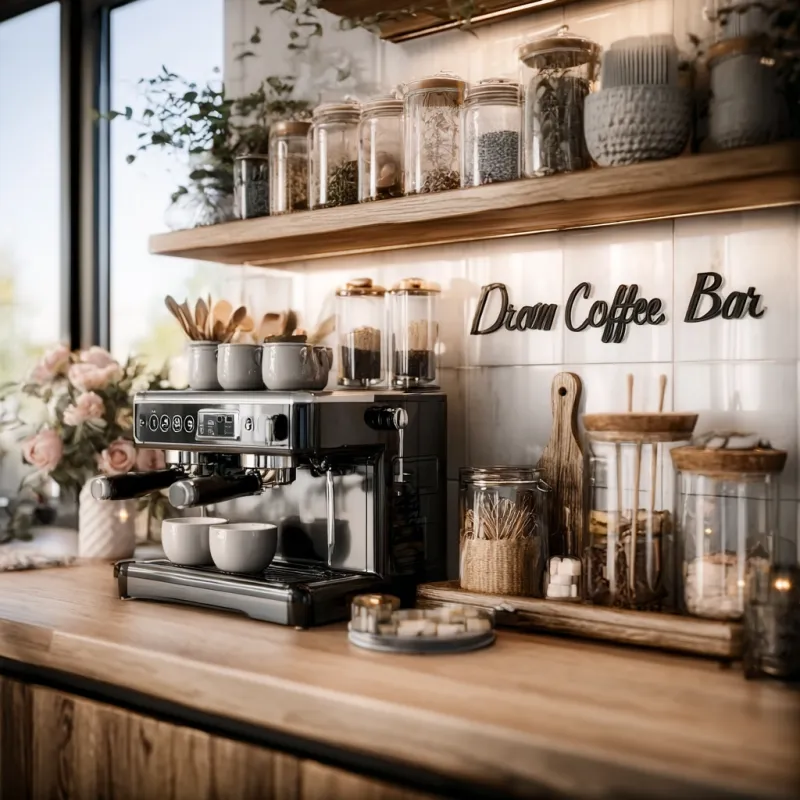
Now, the aesthetics. Pinterest-worthy cabinets aren’t cluttered. I use three to five open shelves for display: one for a small plant or a ceramic pitcher, one for a stack of saucers, and one for a row of coffee beans in airtight canisters. Glass jars with cork lids work well, but keep them out of direct sunlight to preserve the beans’ freshness.
For the tools you don’t use daily—like a milk frother or a scale—store them in a drawer or a lower cabinet. A small tray on the countertop can hold your gooseneck kettle, dripper, and a spoon. I add a small dish for used filters to keep the area tidy.
The Perfect Pour Over Recipe for Your Bar
To truly test your setup, brew a cup that showcases the care you’ve put in. Here’s my standard pour over recipe, designed for a single serving.
Ingredients
- 15 grams coffee beans (medium grind)
- 250 grams water (200-205°F)
Equipment
- Gooseneck kettle
- Pour over dripper (like a V60)
- Paper filter
- Coffee scale
- Mug or carafe
Instructions
- Place a paper filter in the dripper and rinse it with hot water. This removes paper taste and warms the mug. Discard the rinse water.
- Grind the coffee beans to a medium consistency. The grind should feel like sea salt between your fingers.
- Add the ground coffee to the filter and gently shake to level the bed.
- Start a timer and pour 30 grams of water in a spiral, starting from the center and moving outward. Make sure all grounds are saturated. Wait 30 seconds for the bloom. You should see bubbles—this is good.
- Continue pouring in slow, concentric circles, adding water until you reach 250 grams total. Aim to finish pouring by 1:30. Keep the water stream steady but gentle to avoid disturbing the grounds too much.
- Let the water drain through. The total brew time should be around 2:30 to 3:00. If it finishes too quickly, grind finer next time. If it takes too long, grind coarser.
- Remove the dripper, swirl the coffee in the carafe to mix the layers, and serve immediately. The aroma should be floral or nutty, depending on the bean, with a clean finish.
Common mistake: rushing the pour. A slow, controlled pour gives better extraction and a sweeter cup. Also, don’t skip the rinse step—it makes a noticeable difference in clarity.
Final Touches
Add a small tray for spoons and a napkin holder. A tiny vase with a single flower or a sprig of eucalyptus adds life without clutter. For lighting, a small clip-on lamp or a battery-powered puck light under the shelf creates a warm glow.
Remember, your coffee bar cabinet should reflect how you brew. If you’re an espresso drinker, leave space for a machine. If you prefer cold brew, keep a jar in the fridge and a bottle of simple syrup on the shelf. The best setup is one that makes you look forward to your morning cup.
Takeaway: A coffee bar cabinet is more than a storage solution—it’s an invitation to slow down. Start with a solid cabinet, organize for workflow, and brew with intention. The beauty will follow.
Frequently Asked Questions
What is the best cabinet for a coffee bar?
Look for a cabinet with a sturdy countertop at a comfortable height (around 36 inches), enough depth for a kettle and dripper, and shelves for mugs and beans. A cabinet with a power outlet nearby is ideal for electric kettles.
How do I organize a small coffee bar cabinet?
Use vertical space with hooks for mugs, a tiered shelf for syrups and tools, and small bins for filters and stirrers. Keep your most-used items at eye level and store beans in an airtight container on a lower shelf.
What coffee equipment do I need for a basic cabinet?
Start with a gooseneck kettle, a pour over dripper, paper filters, a scale, and a burr grinder. A small milk frother is optional for lattes. Choose equipment that fits your cabinet’s dimensions.
How do I choose a coffee ratio for my pour over?
A standard ratio is 1:16 (coffee to water). For a stronger cup, try 1:15; for a lighter cup, 1:17. Adjust based on your taste and the bean’s roast level.
Perfect Pour Over for Your Coffee Bar
Ingredients
Equipment
Method
- Place a paper filter in the dripper and rinse it with hot water. Discard the rinse water. 2. Grind the coffee beans to a medium consistency (like sea salt). 3. Add the ground coffee to the filter and gently shake to level. 4. Start a timer and pour 30 grams of water in a spiral, saturating all grounds. Wait 30 seconds for the bloom. 5. Continue pouring in slow, concentric circles, adding water until you reach 250 grams total. Aim to finish pouring by 1:30. 6. Let the water drain through. The total brew time should be around 2:30 to 3:00. 7. Remove the dripper, swirl the coffee in the carafe, and serve immediately.