I remember the first time I tried to build a coffee station. My budget was tight, my counter space smaller, and my expectations high. I wanted something that felt intentional—not cluttered. So I started with what I had: a wooden cutting board, a plain white mug, and a simple pour-over dripper. That was enough.
Here’s the thing about styling a coffee station on a budget: it’s not about how much you spend. It’s about how you arrange what you have. Let me walk you through my approach, step by step.
Start with a Focal Point
Every coffee station needs a centerpiece. For me, it’s the dripper. I use a ceramic V60—it cost under $15, and its clean lines anchor the setup. Place it on a small tray or a wooden board. This defines the space and keeps everything contained. A thrifted breadboard or a simple bamboo mat works beautifully.
Common mistake: overcrowding. Resist the urge to display every gadget. Choose one brewer, one mug, and one jar for beans. That’s your foundation.
Choose a Budget Brewer That Delivers
You don’t need a $500 machine. A pour-over dripper like the V60 or Kalita Wave costs less than $20 and produces exceptional coffee if you nail the technique. Here’s my exact method:
- Water temperature: 205°F (96°C). Too hot and you’ll over-extract, making the coffee bitter. Too cool and it’ll taste flat.
- Grind size: Medium-fine, like sea salt. If the brew finishes before 2:30, grind finer. If it takes longer than 3:30, grind coarser.
- Ratio: 1:16 coffee to water. For one cup, I use 15 grams coffee and 250 grams water.
- Bloom: Pour 30 grams of water in a slow spiral, then wait 30 seconds. This lets the coffee degas and ensures even extraction.
- Pour in stages: Add water to 150 grams by 1:15, then to 250 grams by 2:00. Aim for a total brew time of 3:00 to 3:30.
The visual cue: during the bloom, the coffee should puff up like a small dome. If it doesn’t, your beans might be too old. The sound of the pour should be a gentle trickle, not a splash.
Repurpose and Rearrange
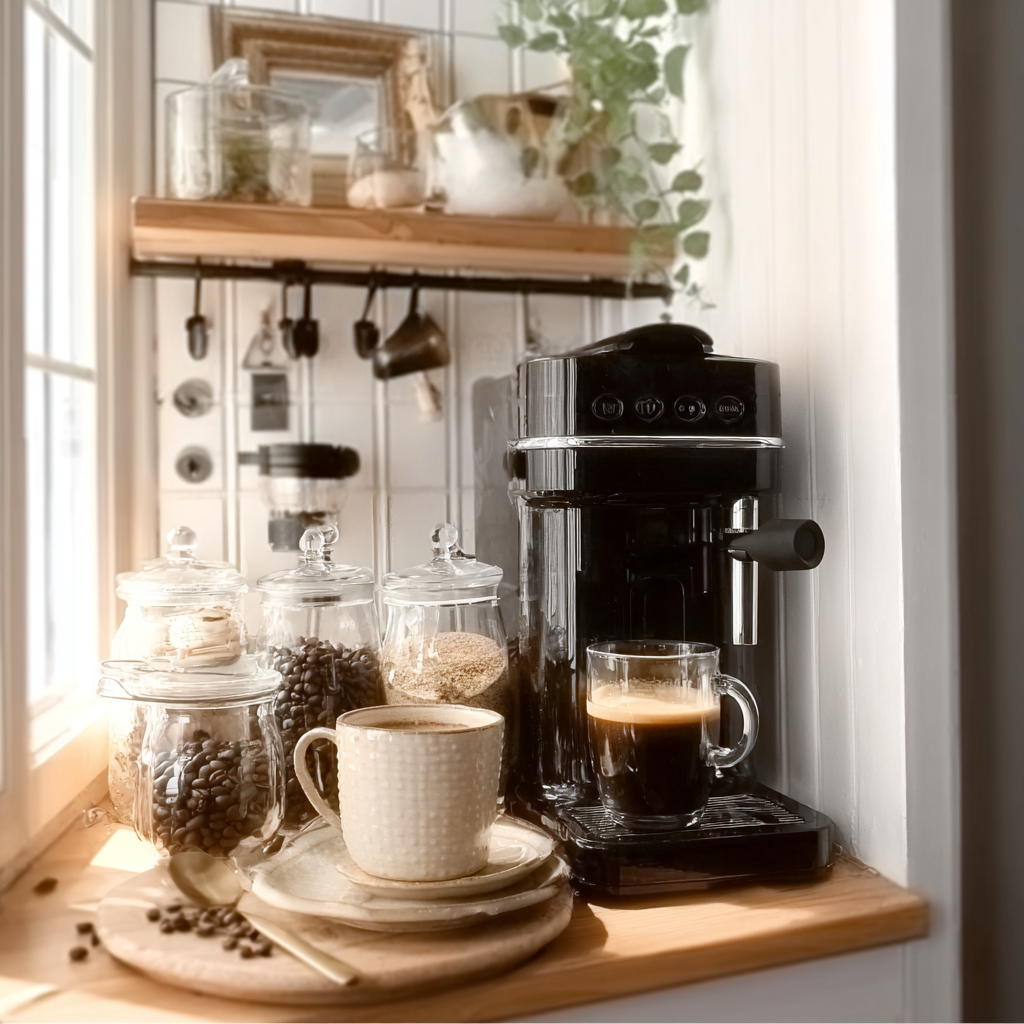
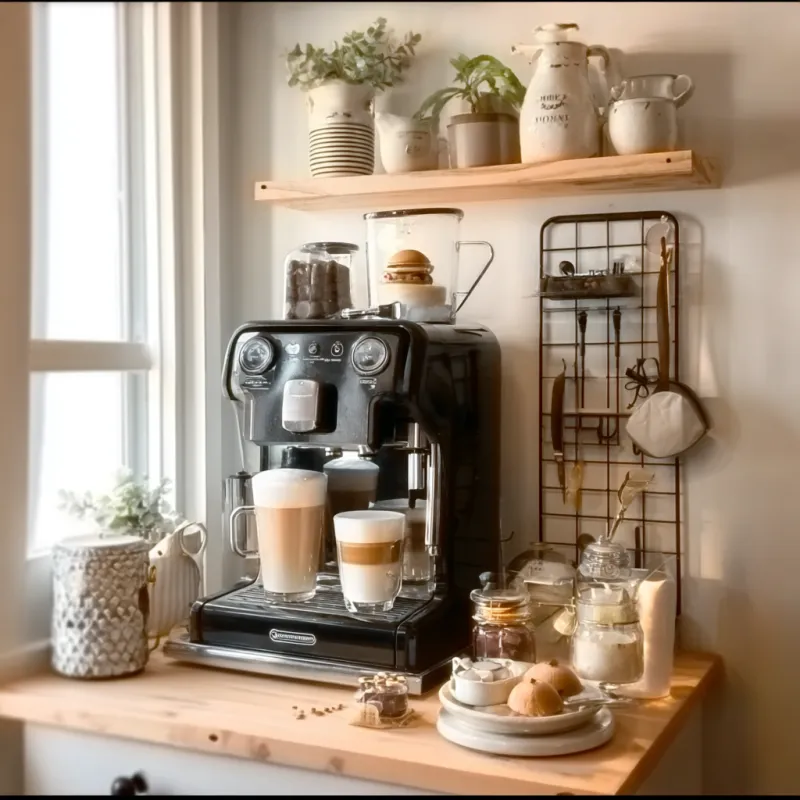
I found a small glass jar from a pasta sauce—washed it, removed the label, and now it holds my coffee beans. A thrifted ceramic pitcher doubles as a milk frother. A simple wire basket from the dollar store corrals my filters and stir sticks.
Key tip: use vertical space. A wall-mounted shelf or a small riser lifts your gear off the counter, making the station feel bigger. I mounted a simple wooden shelf above my coffee area to store mugs and a small plant.
The One Splurge Worth Making
If you can spare a little, invest in a good burr grinder. A hand grinder costs around $30 and gives you consistent grounds. Pre-ground coffee loses flavor fast. Grinding fresh just before brewing makes a noticeable difference in aroma and body. The sound of the grinder—a steady, even crunch—tells you the beans are being crushed, not smashed.
Safety note: handle hot water and the kettle carefully. Keep electrical cords away from the edge of the counter, especially if you have children or pets.
Keep It Functional and Clean
Your coffee station should work for your morning routine, not against it. I keep my scale, dripper, and kettle within arm’s reach. A small towel nearby catches drips. After each use, I rinse the dripper and mug immediately—this prevents stains and keeps the station looking fresh.
Common mistake: neglecting the filter. Rinse it with hot water before adding coffee. This removes paper taste and preheats the dripper, keeping the brew temperature stable.
Takeaway
Styling a coffee station on a budget is about clarity and purpose. You don’t need a lot of money—just a few well-chosen pieces, a solid technique, and a bit of creativity. Start with what you have, focus on the basics, and let your morning cup be the reward.
Note: Caffeine affects people differently. If you have specific health concerns, consult a qualified professional. Coffee is not suitable for young children.
Frequently Asked Questions
What is the most essential item for a budget coffee station?
A reliable pour-over dripper and a good burr grinder. You don’t need an expensive espresso machine. A simple V60 or Kalita Wave costs under $20, and a hand grinder around $30 can give you consistent grounds.
How can I save money on coffee station accessories?
Repurpose items you already own. Use a small tray from a thrift store, a mason jar for beans, and a plain mug. Skip branded gear—focus on function. A digital scale under $15 works perfectly.
What coffee-to-water ratio works best for a budget setup?
I keep the ratio at 1:16—15 grams of coffee to 250 grams of water. This yields a balanced cup without wasting beans. Adjust to taste, but start there.
Budget-Friendly Morning Pour-Over
Ingredients
Equipment
Method
- Boil water and let it cool to 205°F (96°C). 2. Rinse the paper filter with hot water to remove paper taste and warm the dripper. 3. Grind coffee to a medium-fine consistency (similar to sea salt). 4. Place dripper on mug, add ground coffee, and tare scale. 5. Pour 30 grams water in a slow spiral to bloom for 30 seconds. 6. Continue pouring in stages: add water to 150 grams by 1:15, then to 250 grams by 2:00. 7. Let drawdown finish by 3:00-3:30. 8. Remove dripper, swirl mug gently, and serve.